
Creating an exam
Assessments are eProfessor's graded exams and quizzes, scored automatically based on the rules you set. Creating one walks you through a four-step wizard: Title & Scoring, Pricing, Timing, and Content.
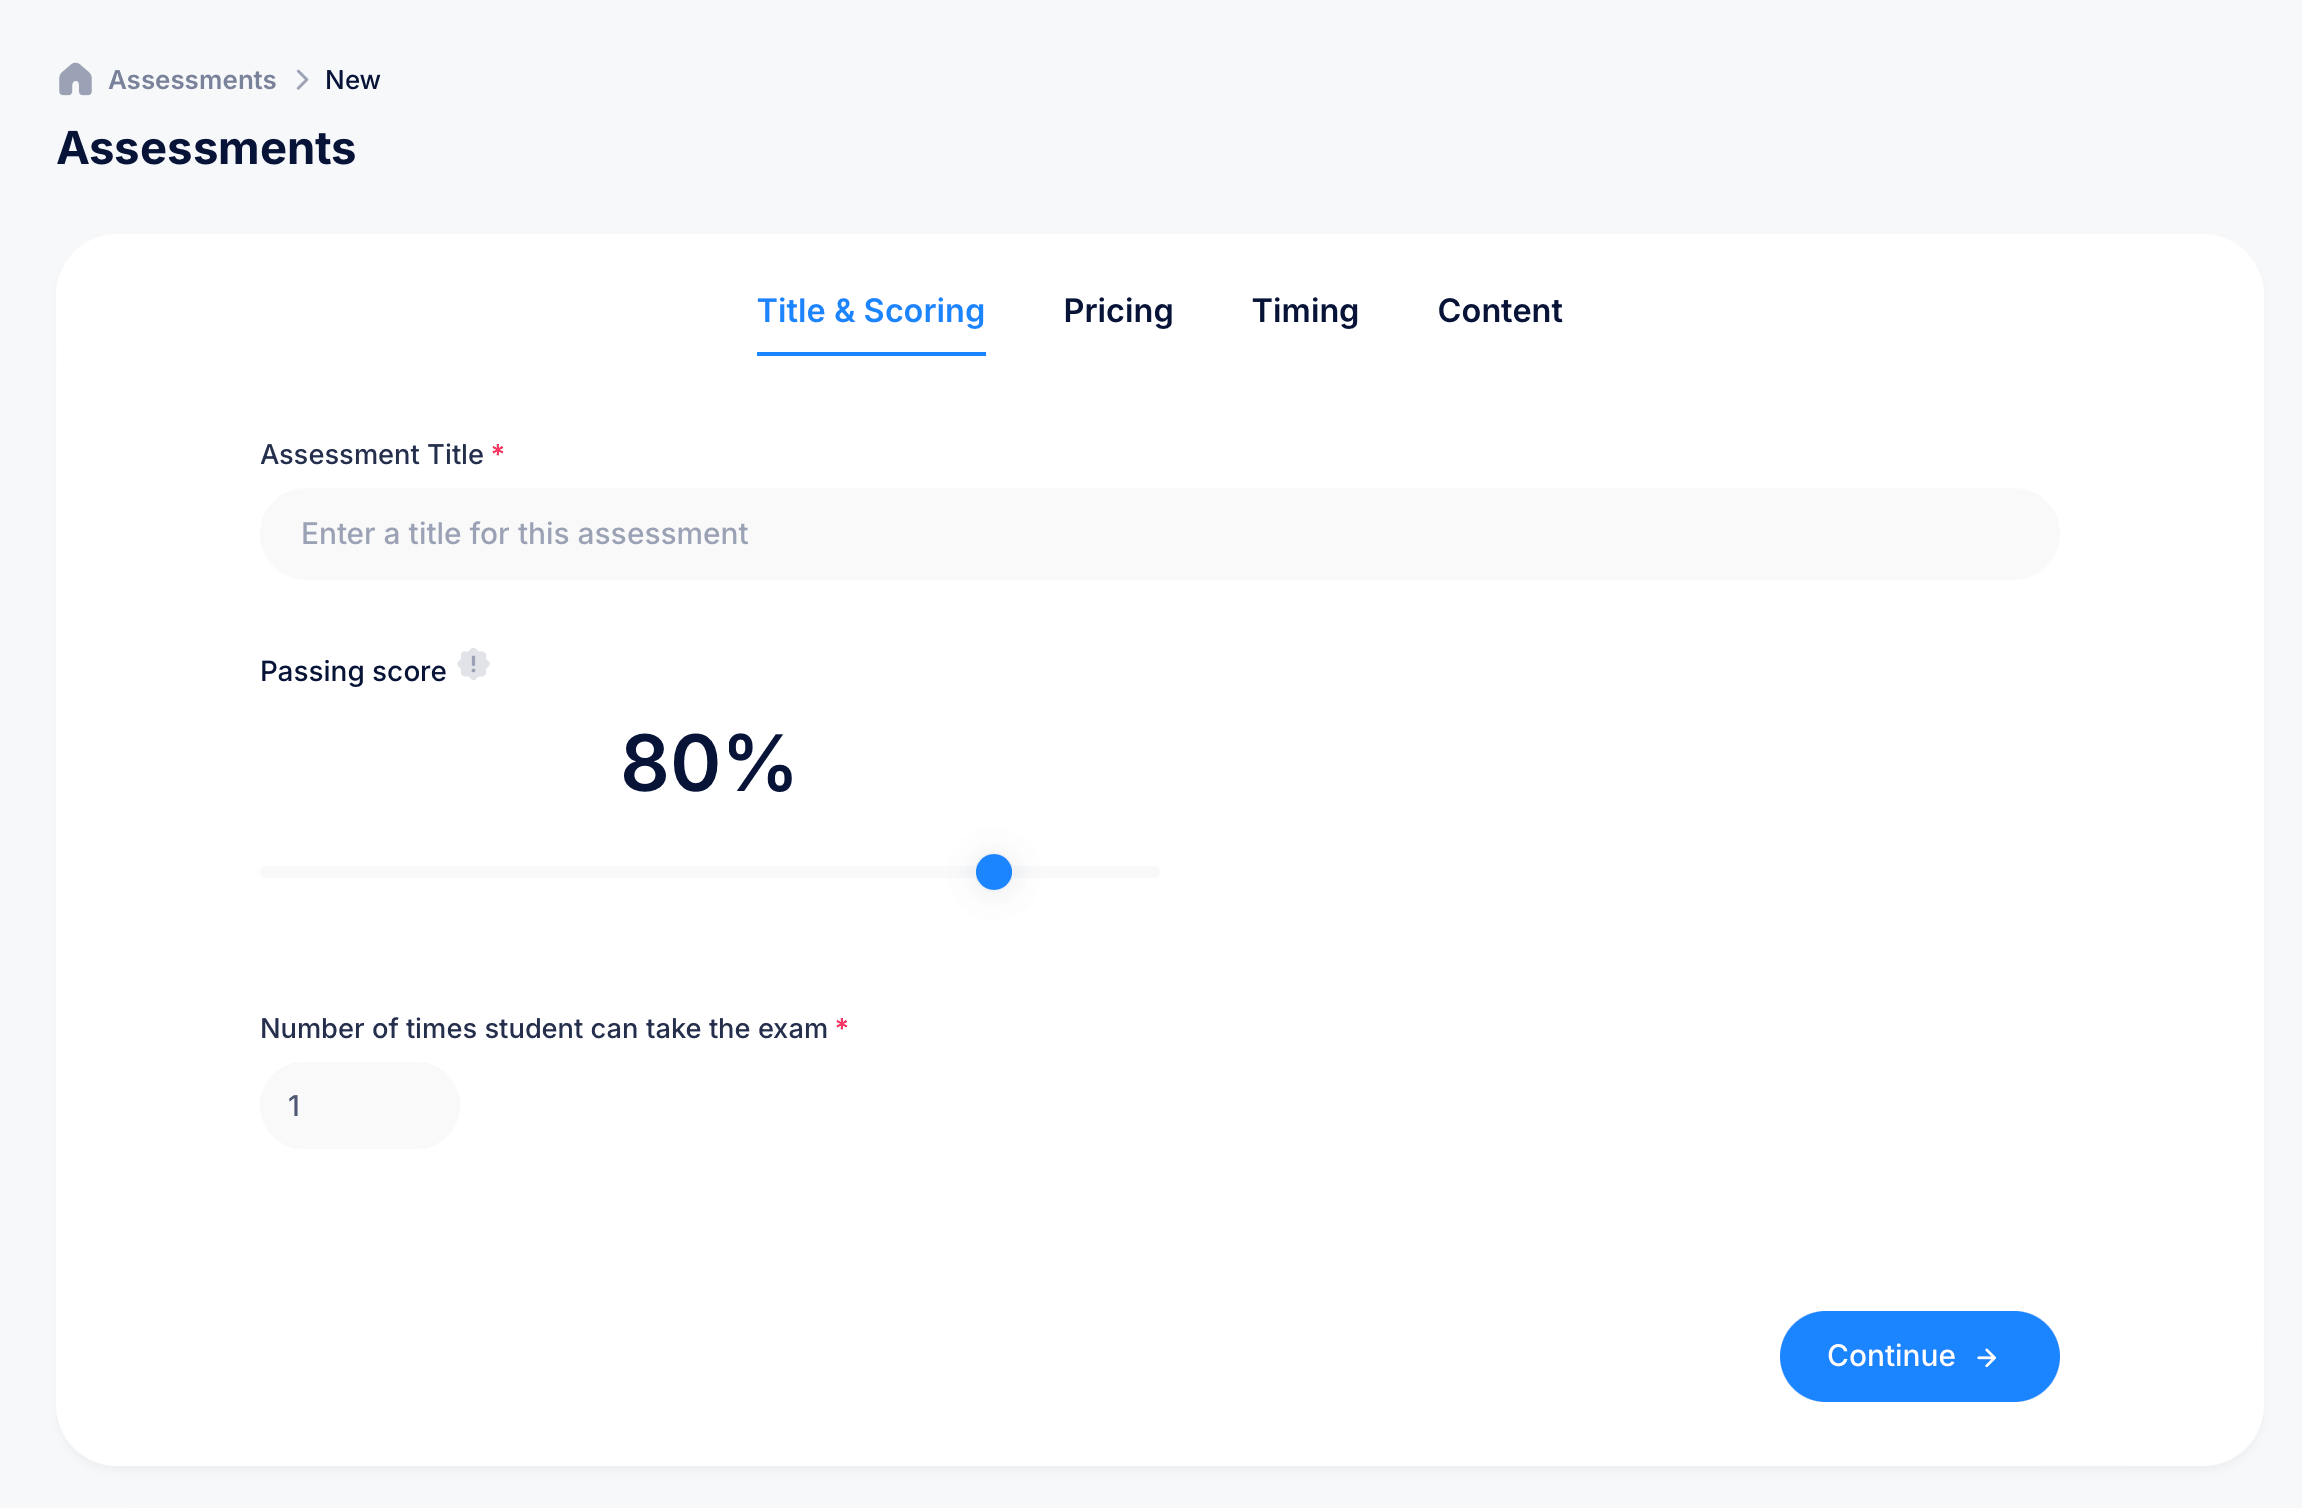
Step 1: Title & Scoring
Start by giving your assessment a name in the Assessment Title field. This is required and is what students will see when they're assigned the exam.
Next, set the Passing score using the slider, expressed as a percentage. This is the minimum score a student needs to earn for the attempt to count as a pass rather than a fail.
Finally, set the Number of times student can take the exam. Entering 1 means students get a single attempt with no retakes, while a higher number lets them attempt the exam multiple times, useful if you want to give students a chance to improve their score or simply allow for technical hiccups during an attempt.
Click Continue to move to the next step.
Step 2: Pricing
Set pricing for the assessment, following the same logic as course pricing. You can charge for access to the exam itself or make it free, and this can be adjusted later if your plans change.
Step 3: Timing
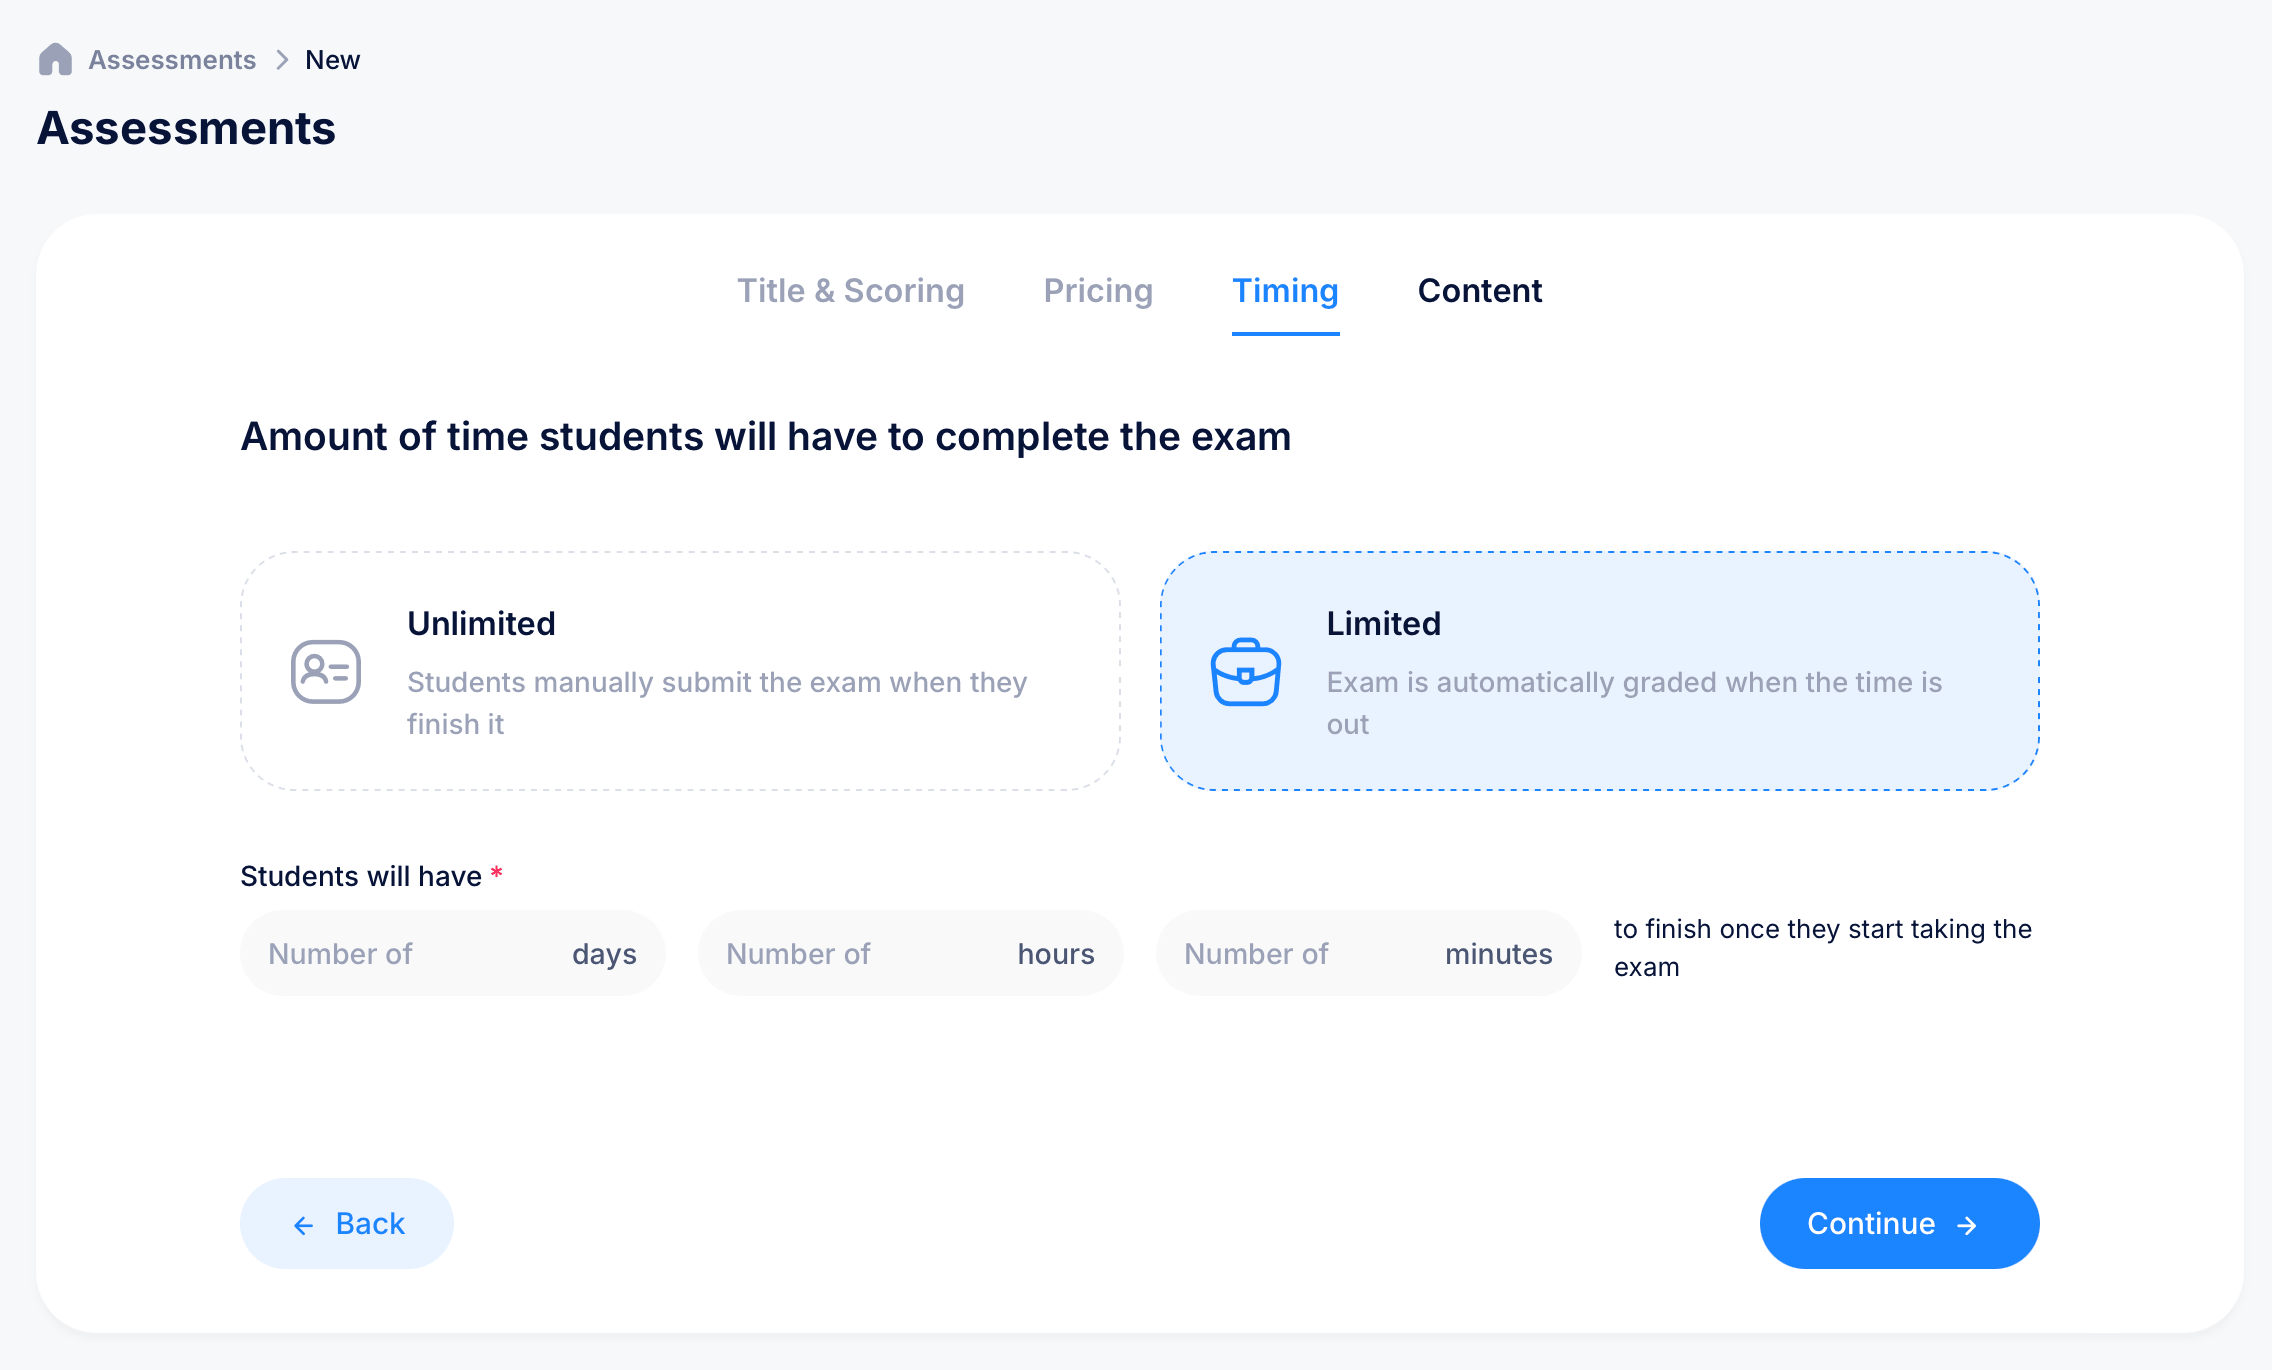
This step controls how much time students have to complete the exam once they start it. You'll choose between two options:
Unlimited — students manually submit the exam whenever they finish it, with no time pressure.
Limited — the exam is automatically graded the moment time runs out, whether or not the student has submitted. If you choose Limited, fill in Students will have with a number of days, hours, or minutes (you can combine more than one unit, for example 1 hour and 30 minutes) to finish once they start taking the exam.
Click Continue once you've made your choice.
Step 4: Content
This is where you build out the actual questions and answers. You have two options:
AI Generation — describe your topic and let AI help you get started with a set of questions, useful if you're building an assessment from scratch and want a head start rather than writing every question by hand.
I already have the content — choose this if you already have your questions and answers prepared and just need to enter them directly.
Once your questions are in place, click Submit to finish creating the assessment.
Putting it to use
Once created, your new assessment becomes available to attach anywhere in your courses. Add it to a lesson using an Assessment block, and choose Existing to select this exam rather than building a new one each time you want to reuse it.
Tips
A high passing score, like 80% or above, signals that you expect students to genuinely know the material rather than guess their way to a pass. Pair a strict passing score with multiple allowed attempts if you want students to be able to study and retry rather than fail permanently on a single mistake.
If you're not sure whether to allow unlimited or limited time, consider what you're actually testing. Open-book knowledge checks usually don't need a strict timer, while exams meant to test recall or performance under pressure benefit from a Limited time setting.