
Creating a course
Courses are the core teaching content in eProfessor. This article walks through the All Courses view and the step-by-step wizard you'll use to create a new one.
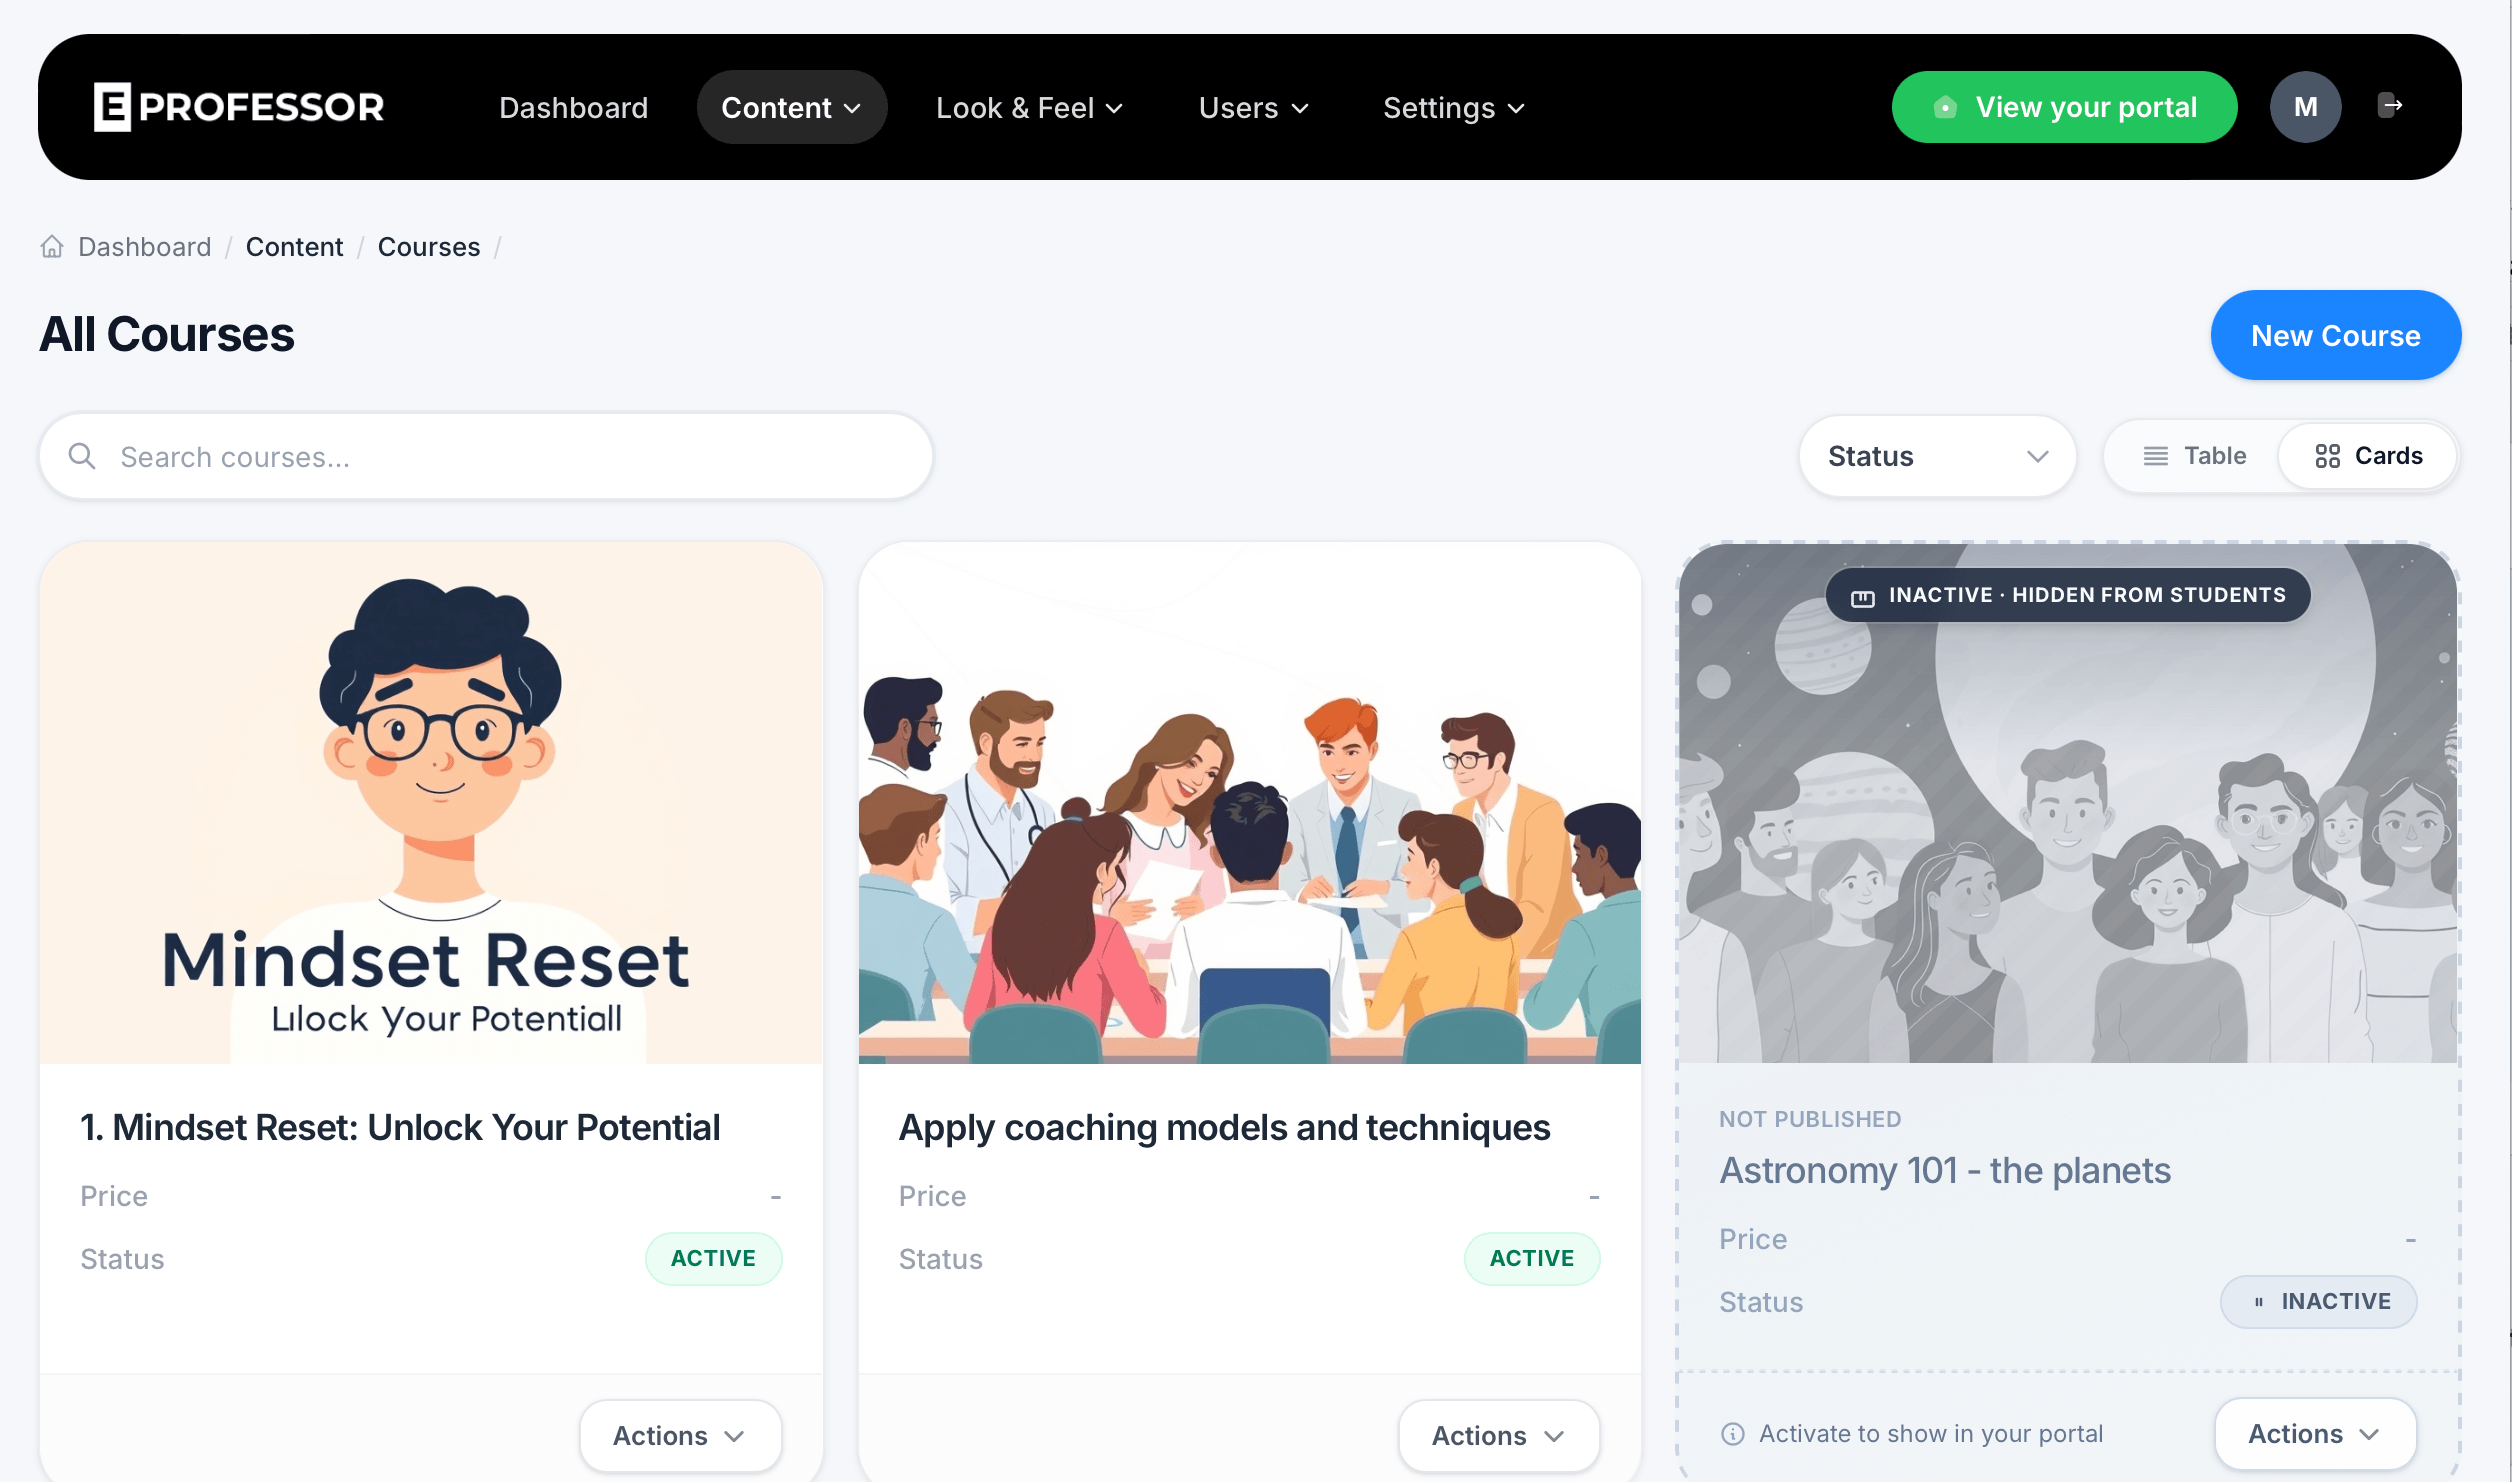
The All Courses view
Navigate to Content > Courses to see every course you've created. Each course appears as a card showing its thumbnail, title, price, and status, with a search bar to find a specific course quickly and a Status filter to narrow the list down.
You can switch between Cards and Table view using the toggle in the top right, depending on whether you prefer a visual layout or a more compact list.
Each course card shows one of the following statuses:
- Active — the course is live and visible to students in your portal
- Inactive — the course has been published before but is currently hidden from students. A banner reading "Activate to show in your portal" appears on inactive course cards as a reminder
- Draft (shown as "Not Published" on the card) — the course hasn't been published yet at all, separate from being toggled active or inactive afterward
Click the Actions dropdown on any course card to manage that course, including making it active or inactive.
To start building a new one, click New Course in the top right of the All Courses page.
Step 1: Title & Pricing
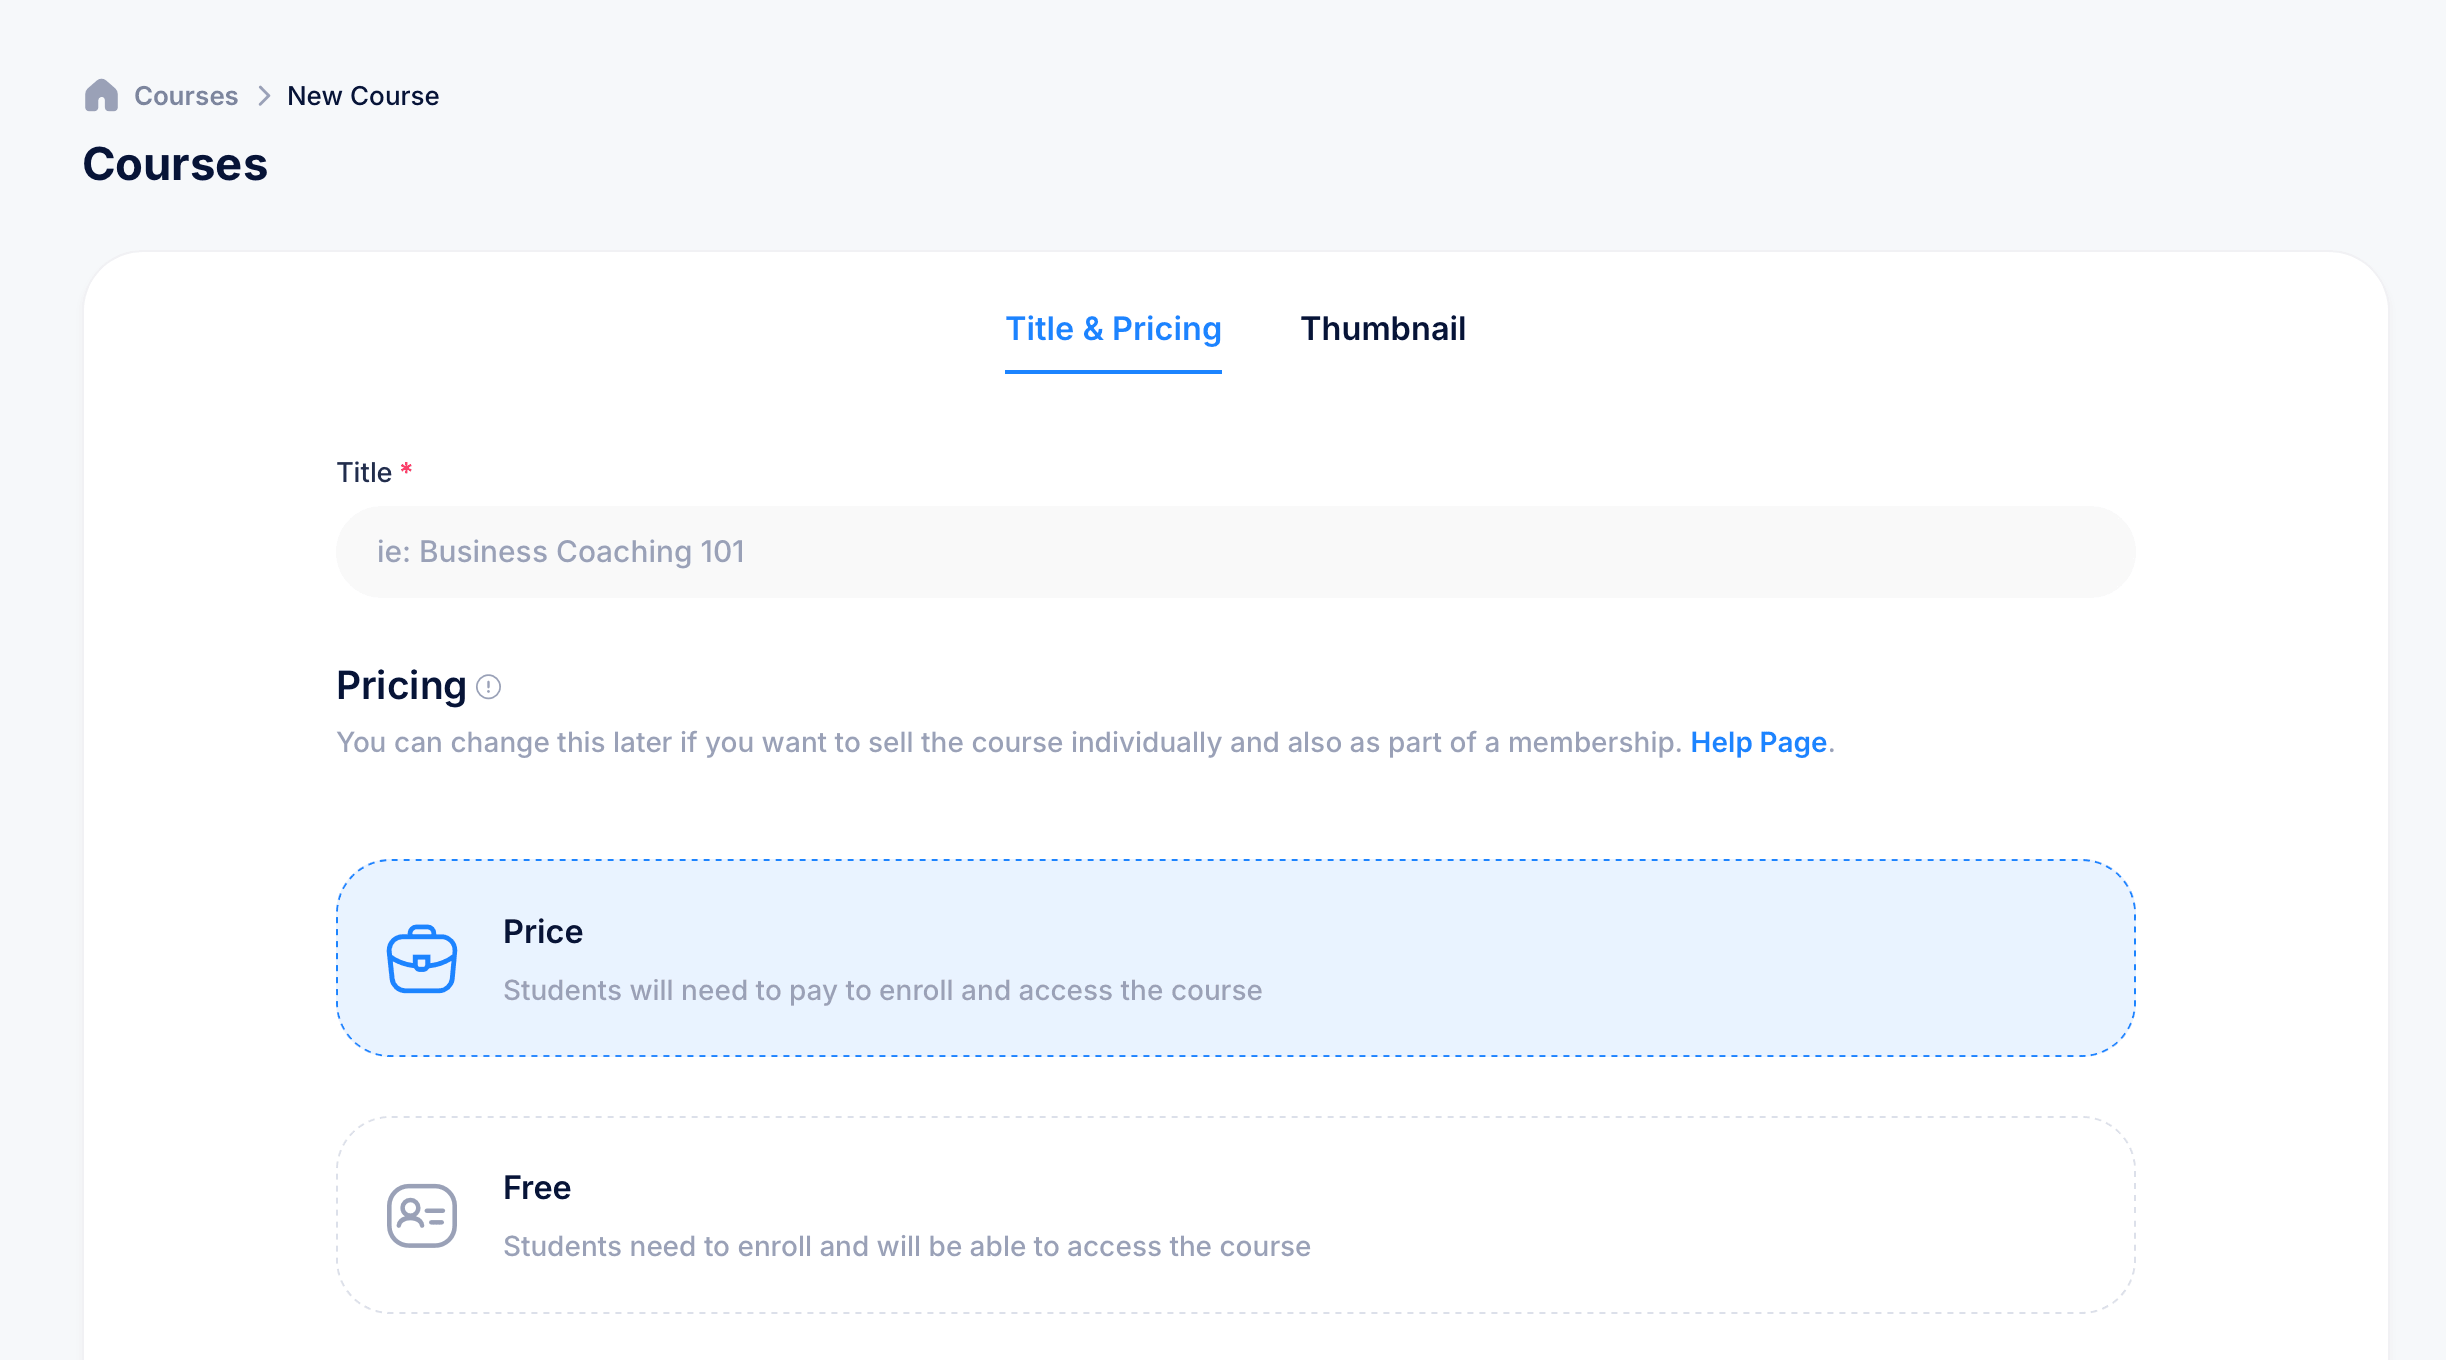
The course creation wizard opens on the Title & Pricing tab.
Title — give your course a name. This is required and is what students will see in your portal (for example, "Business Coaching 101").
Pricing — choose how students will access the course:
- Price — students need to pay to enroll and access the course
- Free — students need to enroll, but there's no charge to access the course
A note on this screen lets you know that your pricing choice isn't locked in. You can change it later if you decide to sell the course individually, as part of a membership, or switch between paid and free.
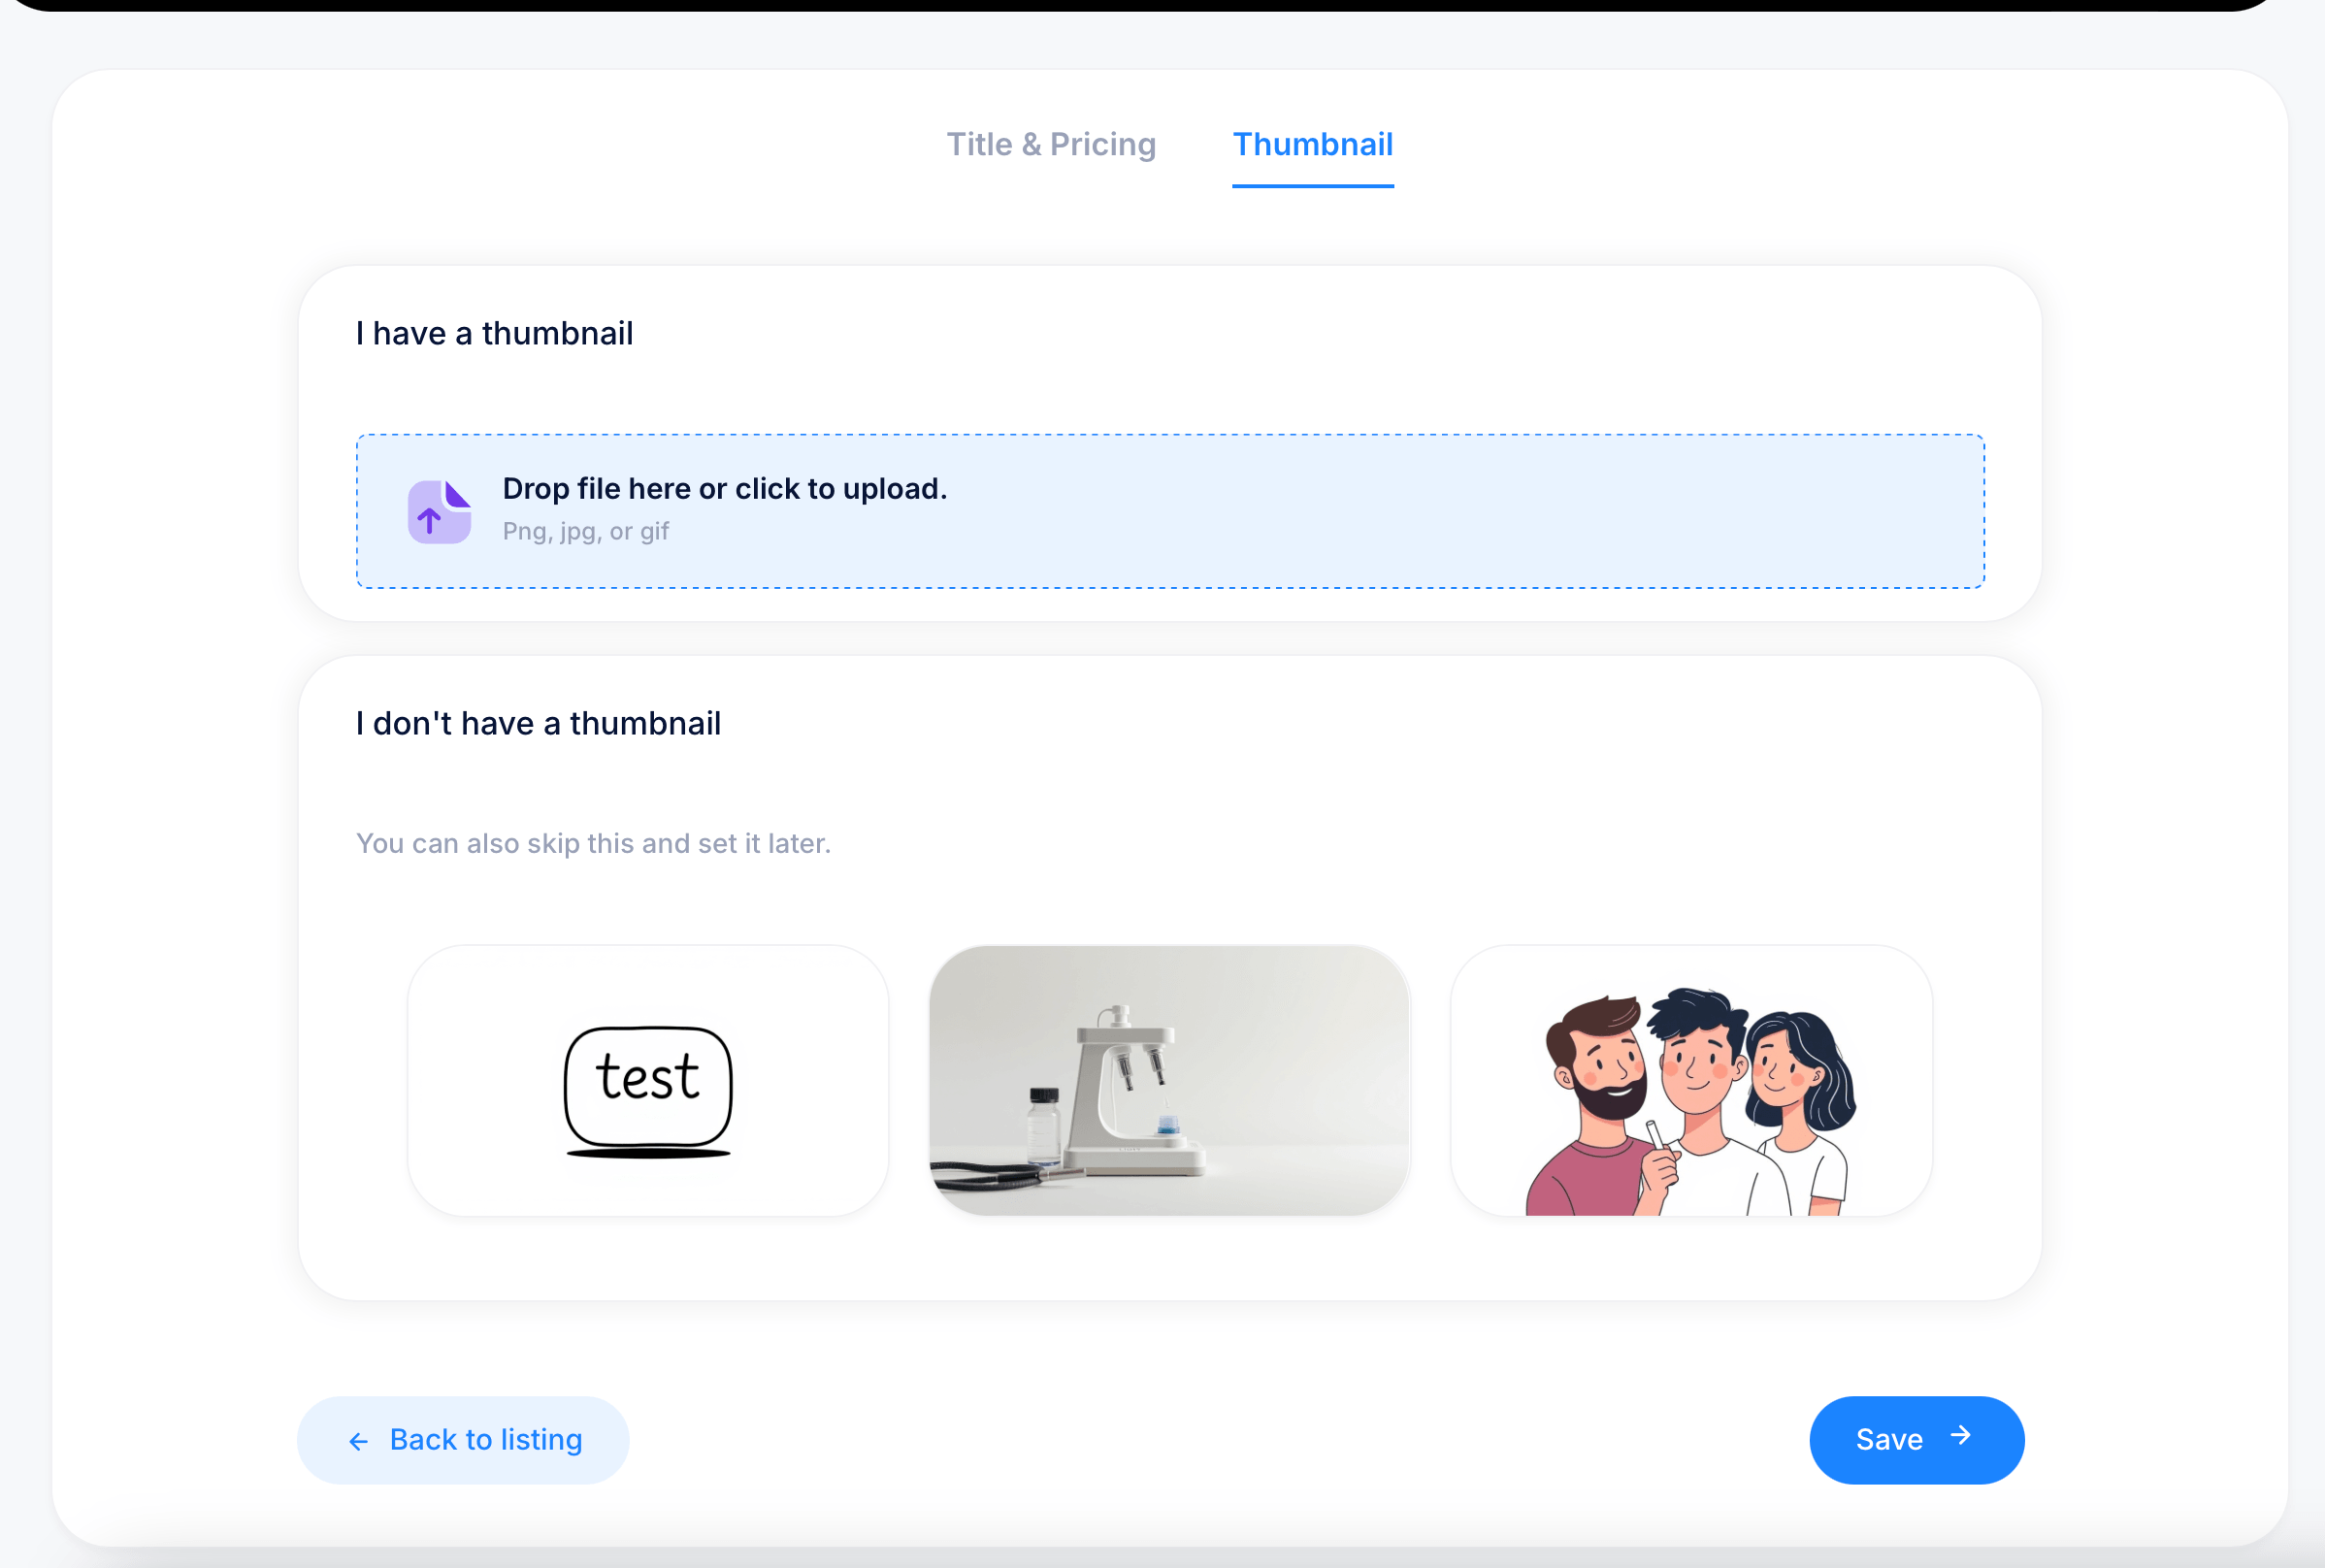
Step 2: Thumbnail
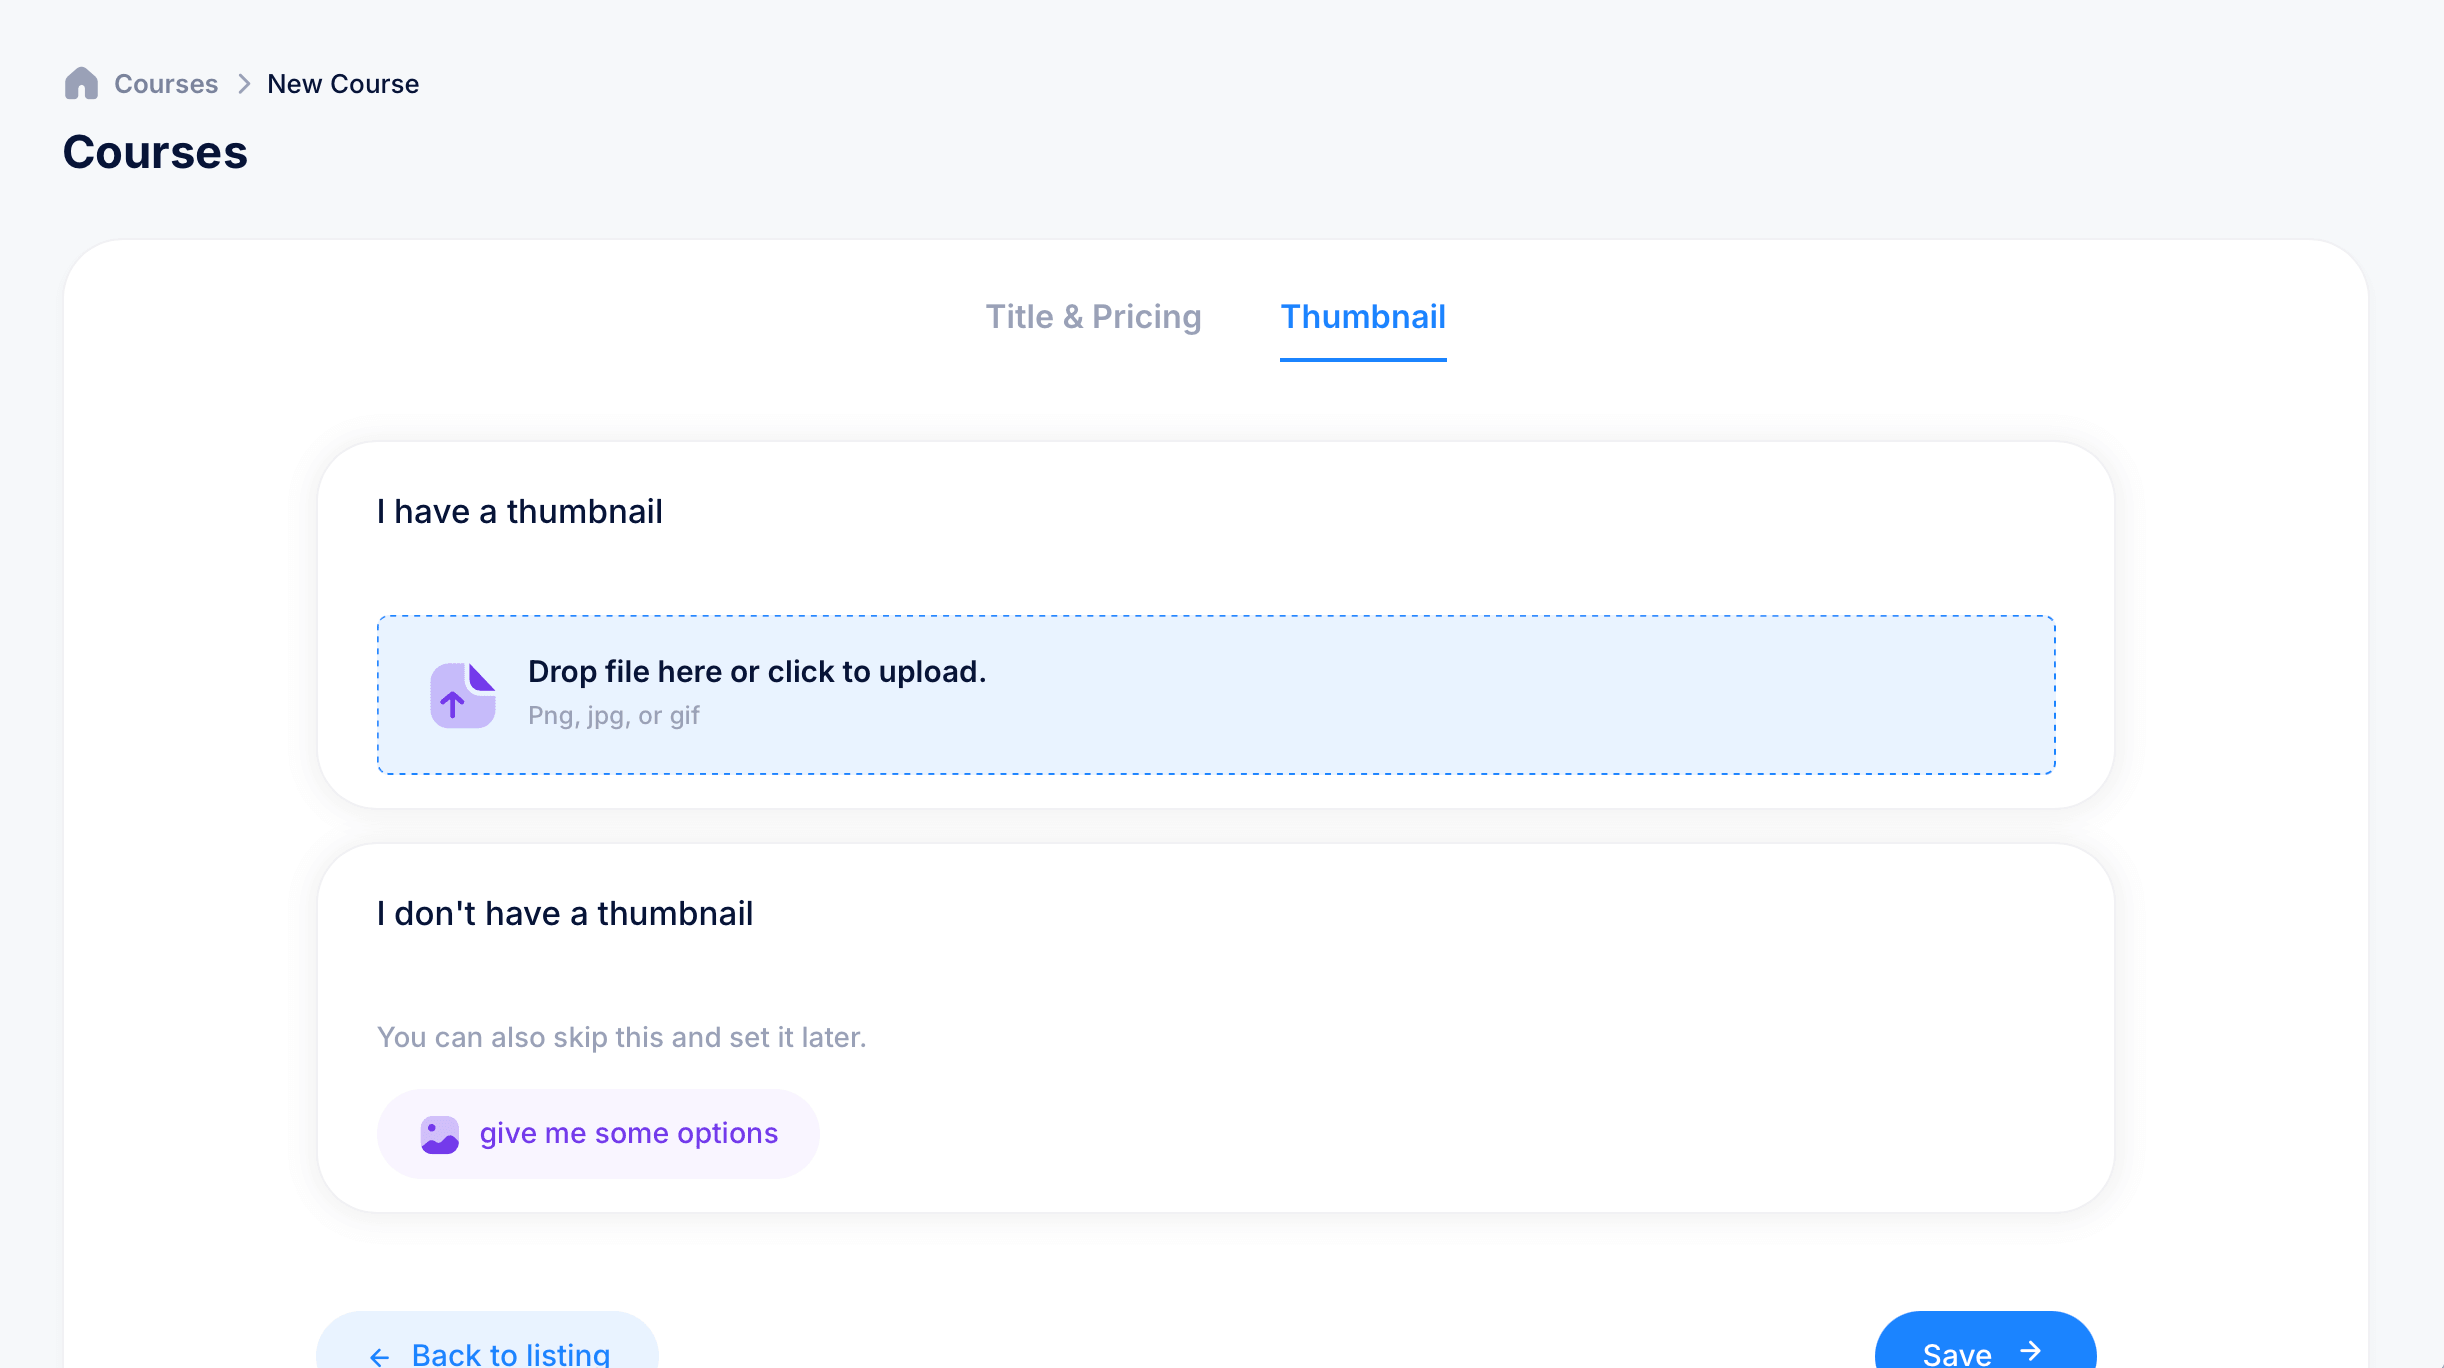
The second tab lets you set the image students will see representing your course in the portal. You have two options:
I have a thumbnail — drag and drop an image file directly onto the upload area, or click it to browse and select a file from your device. Accepted formats are PNG, JPG, or GIF.
I don't have a thumbnail — if you don't have an image ready, you can skip this step entirely and set a thumbnail later. There's also a "give me some options" button, which generates AI thumbnail suggestions for you if you'd rather not source an image yourself.
Saving your course
Once you've filled in the title, chosen your pricing, and set a thumbnail (or skipped it), click Save in the bottom right to create the course. You'll be able to add lessons, modules, and other content to it from there.
If you need to step away before finishing, Back to listing in the bottom left returns you to the All Courses view without saving your changes.
Tips
You don't need a finished thumbnail to get a course off the ground. Skip it during creation and come back to it later. A course's status, Draft, Active, or Inactive, is independent from whether your title and pricing are filled in, so a Draft course with all its details set is perfectly normal while you're still building out lessons.
If you're testing a course you've already published before but aren't ready to show again, set its status to Inactive rather than leaving it as a Draft. Inactive keeps the course built and ready, just hidden from students until you reactivate it.